
Renter-Safe Peel-and-Stick Mastery
Move-in personalization without move-out panic starts here. Today we dive into damage-free application and removal techniques for peel-and-stick decor in rentals, revealing surface prep rituals, alignment tricks, adhesive basics, and gentle lift-off methods so your walls look polished now, your landlord smiles later, and your security deposit stays wonderfully protected. Share your before-and-after wins in the comments, ask questions freely, and subscribe for renter-smart projects that respect every lease.
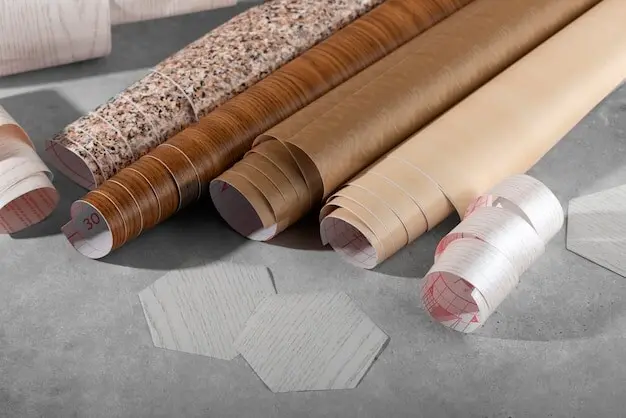
Know Your Surfaces
Not every wall is a willing partner. Painted drywall with eggshell or satin often welcomes removable films, while flat, chalky, or poorly cured coatings can rebel. Dust, grease, and micro-texture matter too. Understanding sheen, age, and cleanliness prevents surprises, preserves finish integrity, and sets you up for effortless removal later.
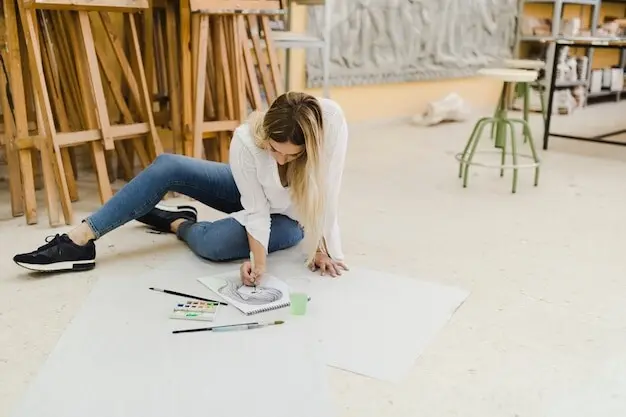
Preparation That Protects Deposits
Great results start long before the backing peels. Gentle cleaning removes oils that sabotage adhesion while saving fragile finishes. Plan layouts, mark level lines lightly, and let surfaces dry completely. Patience now prevents bubbles, edge curl, and heartbreaking touch-ups when you finally decide to move or redecorate.

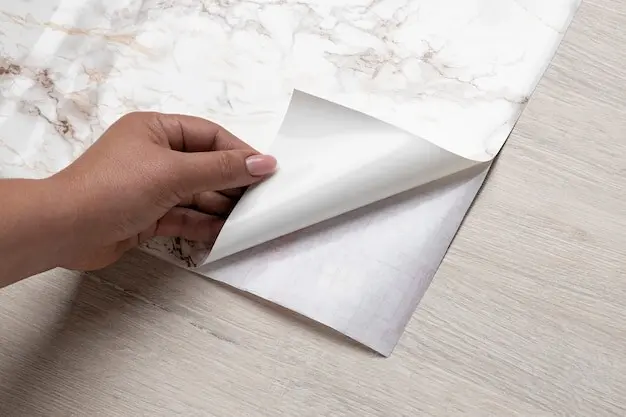
Application Without Bubbles or Misalignment
Working methodically transforms sticky film into a professional finish. Create a center hinge, peel gradually, and smooth from the middle outward with firm, overlapping strokes. Small relief cuts around obstacles reduce stress. Reposition gently within the recommended window, keeping hands clean and pressure consistent across every pass.
Adhesive Science in Plain Words
Most peel-and-stick films use pressure-sensitive acrylics that balance tack with clean release. Temperature, dwell time, and surface energy change everything. Gentle pressure activates bonding; more isn’t always better. Choosing removable or low-tack options for rentals means confidence today and cooperative peel later, even across seasonal shifts and humidity swings.
Pressure and Temperature
Room-temperature installations succeed more often. Aim for sixty-five to seventy-five degrees Fahrenheit, avoid drafts, and apply steady hand pressure rather than brute force. After mounting, a second pass the next day perfects adhesion as the film acclimates, relaxing micro-curls and sealing edges beautifully against ordinary living.
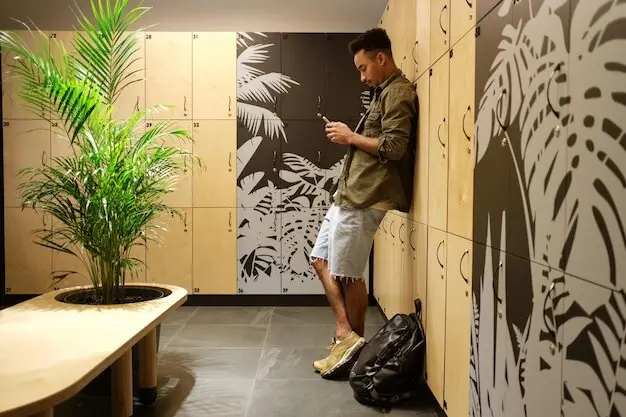
When Low-Tack Is High-Wisdom
Low-tack vinyl or fabric-backed products often ride over delicate coatings with fewer arguments. They forgive minor mistakes, reposition gracefully, and let go kindly at move-out. For high-traffic zones, choose removable plus laminate for durability, marrying renter safety with wipeable strength that still releases without tearing paint.
Removal That Leaves Nothing Behind
Successful goodbyes are unhurried. Start at a corner, warm slightly, and peel back low and slow, almost hugging the wall. As tension lessens, residue stays minimal and paint remains intact. Prepare a gentle cleaner and soft cloth to finish, restoring surfaces to their original, respectful calm.
Troubleshooting Real-World Rentals
Every building surprises us. Bathrooms steam daily, kitchens collect invisible grease, and basement studios swing from chilly mornings to warm afternoons. Adapt by adjusting prep, using dehumidifiers, and selecting films designed for challenging conditions. Document your process, save receipts, and keep lines open with management for friendly outcomes.
Bathrooms and Kitchens
Choose moisture-tolerant materials near sinks and stovetops, and prep twice to beat hidden oils. Run exhaust fans during showers and for twenty minutes afterward. In kitchens, a degreasing wipe before alcohol changes everything. These small habits guard adhesion today and guarantee graceful parting when lease renewal decisions arrive.
Winter and Climate Swings
Cold rooms stiffen vinyls and reduce tack, while summer humidity loosens edges. Schedule installs midday, warm panels gently, and seal edges carefully. If corners lift seasonally, re-squeegee after warming, then add a discreet painter’s tape tab overnight to persuade memory back into calm alignment.
Landlord Communication Wins
A quick email outlining materials, patch-test photos, and the planned removal method builds trust long before move-out. Offer to share vendor links describing clean-release specs. When final inspection comes, being transparent, organized, and proactive turns a once-worried conversation into easy agreement, appreciative smiles, and returned deposits.
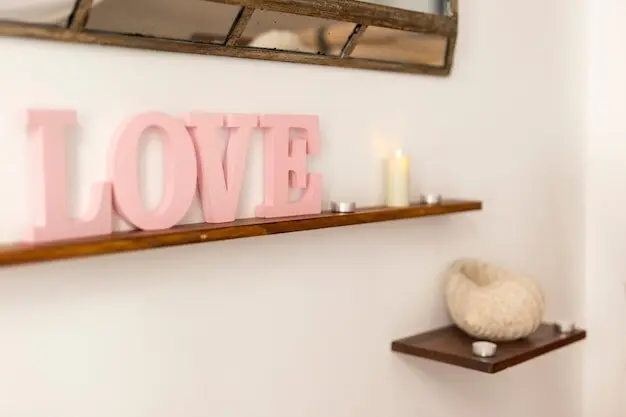
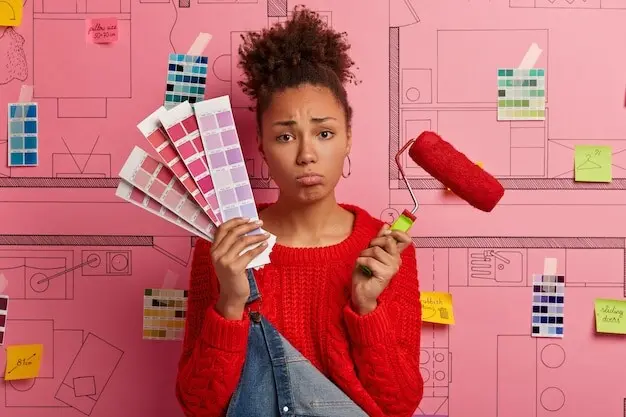
Design Decisions That Simplify Removal
Thoughtful choices at the buying stage shape tomorrow’s exit. Favor modular panels over giant sheets, plan forgiving overlaps, and pick finishes you can clean gently. Keep a notebook of sources, lots, and sizes. Future you will thank present you when disassembly flows effortlessly and everything stores safely.
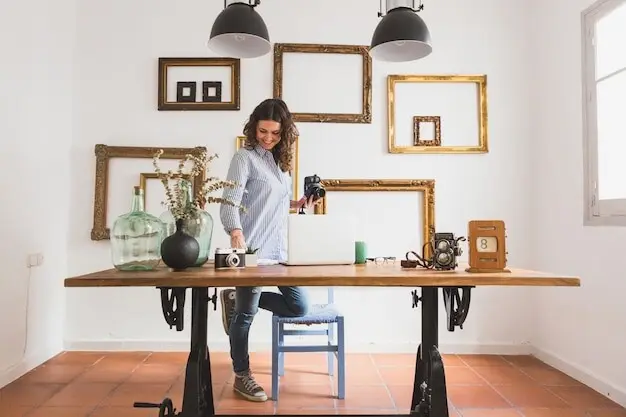
Modular Thinking Saves Time
Select sizes you can manage alone, even on a step stool. Smaller, numbered panels speed alignment, let you replace a damaged piece, and slide neatly into moving boxes later. Modular systems reduce strain on paint during both installation and removal, improving outcomes for everyone involved.
Edges, Seams, and Repositioning
Overlapping seams by a whisper reduces visible gaps as walls flex seasonally, yet still allows gentle lift. Avoid stretching materials during alignment; vinyl remembers and may shrink, revealing edges. Work slowly, rehearse movements, and evaluate sightlines from across the room before committing final pressure everywhere.
All Rights Reserved.